Simple Jenkins project for the absolute beginner
Computer Science graduate who's had a taste of DevOps and wants more. This blog will serve as a journal regarding my journey into this field of delight.
First, create a GitHub project containing just a Jenkinsfile file.
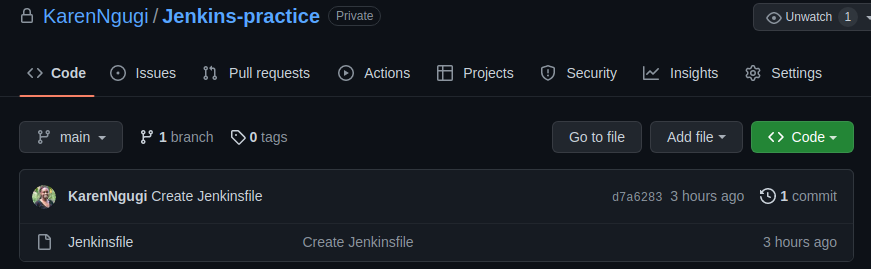
In the Jenkinsfile, paste the following:
pipeline {
    agent any

    stages {
        stage('Stage 1')  {
            steps {
                echo 'Hello world!'
            }
        }

        stage('Stage 2') {
            steps {
                echo "Ain't Jenkins neat?"
            }
        }

        stage('Stage 3') {
            steps {
                echo "Okay, enough! Printing 'Hello world' does not a DevOps engineer make."
            }
        }
    }
}
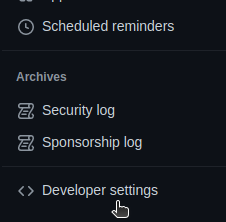
On GitHub, go to your account settings and scroll down until you find Developer settings. It can usually be found at the bottom left.
Open the Personal access token dropdown and select Tokens (classic).

Click on Generate new token and select Generate new token (classic).

Provide the name for your access token and select the scopes you need. Since this is a simple Jenkins project that only needs to access the repo containing the Jenkinsfile, we will select repo.

Scroll down and select the Generate token button.

Once you have created your PAT, you should copy it and store it somewhere safe.

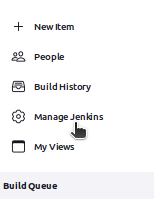
Log into Jenkins and go to Manage Jenkins, which is located on the left.
Under Security, go to Manage Credentials.

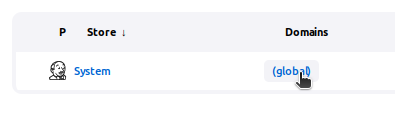
You will find a global user called Jenkins (the only user if you are new to Jenkins and/or have not added any other users). Click on its domain (global).
You will then be asked to add credentials. If you have not created any credentials at all, your dashboard will look like this. Click on the link adding some credentials.

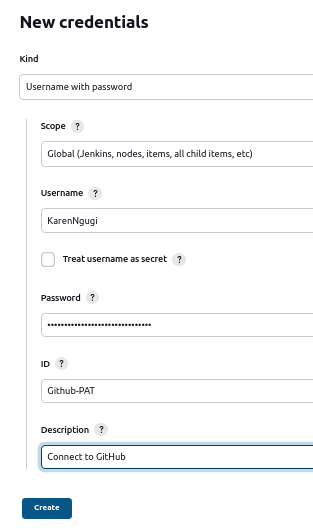
Set the following:
Kind: Username with password
Scope: Global (Jenkins, nodes, items, all child items, etc)
Username: <your_GitHub_username>
Password: <copy_your_GitHub_PAT_here>
ID: <credential_ID> (if left blank, Jenkins will automatically generate one that is ridiculously long and hard to memorize)
Description: <credential_description> (optional)
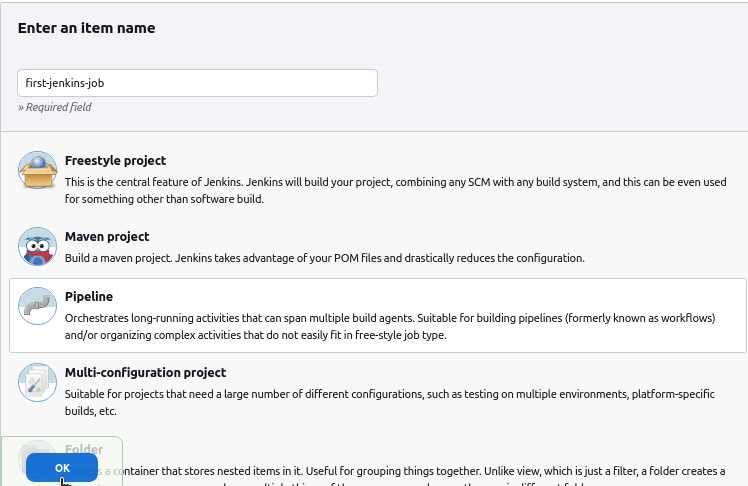
When done, go back to your Jenkins dashboard and select New Item.

Provide the name of your item, select Pipeline, and then click OK.
You will automatically be taken to the pipeline’s configuration page. Scroll down to the Pipeline section and select the value of Definition to “Pipeline script from SCM” and the value of SCM to “Git”.

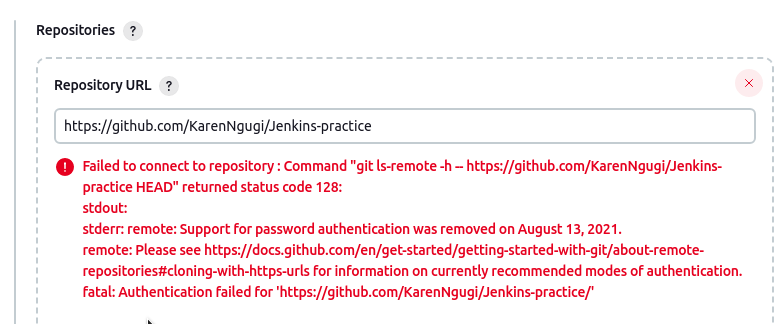
In the Repository URL field under Repository, input the link to your GitHub repo. Don’t worry if you receive the “Failed to connect to repository…returned status code 128” error, that will be resolved once we input our credentials.
In the Credentials field, select the credentials you created.
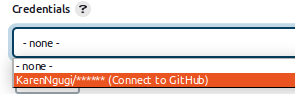
Once you have selected your credential, you will see that the error message previously mentioned will go away.

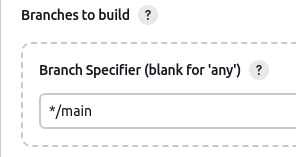
Scroll a bit further down to locate Branches to build and replace the value for Branch Specifier with “*/main” instead of “*/master”. For more information about this change, check this out.
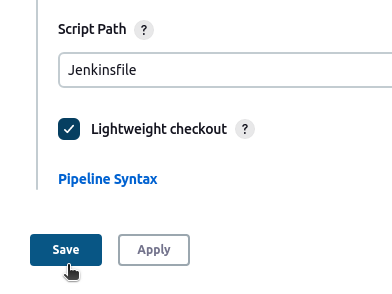
Ensure Script Path is set to “Jenkinsfile” and click Save.
On the left side, select Build Now.
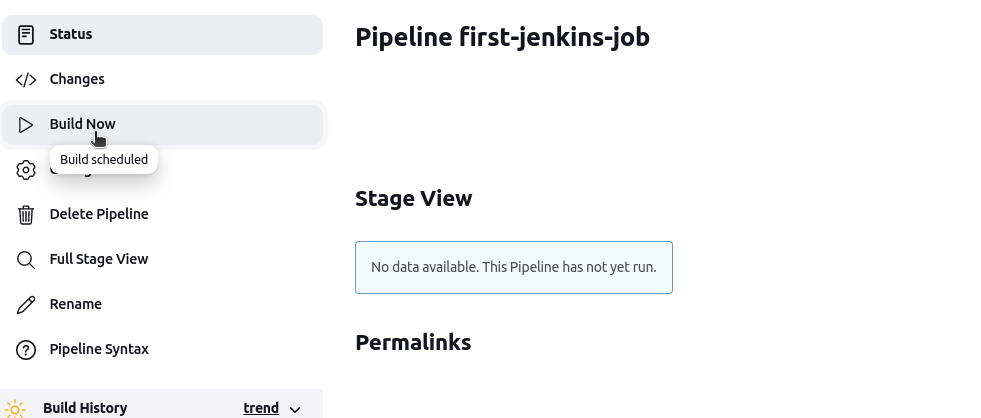
Once the build starts, you can see its progress at the bottom-left side of the page. Depending on how it’s progressing, the Stage View will display the stage the pipeline currently is at as well as stages it has already completed.

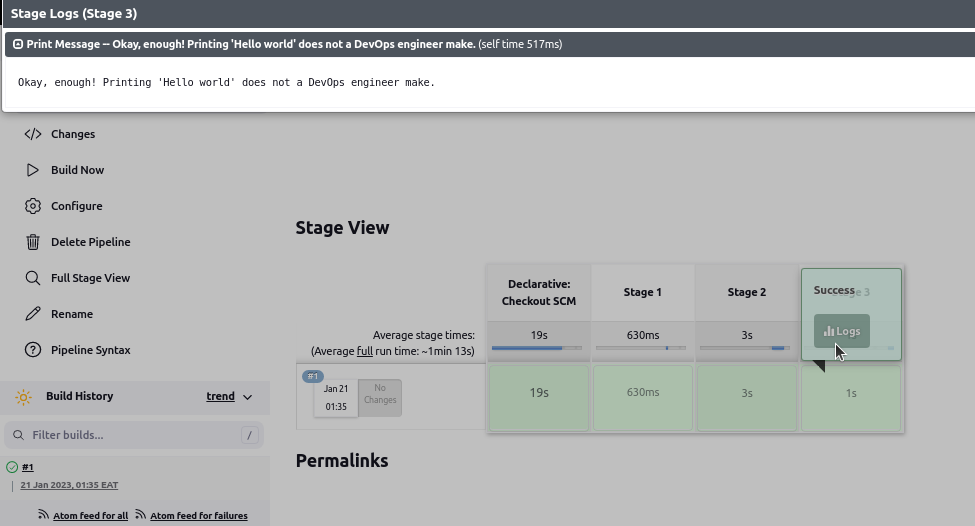
If any error occurs during a build, the build will stop and the affected stage will be highlighted in red. Otherwise, it will be highlighted in green. When you hover over any of the stages, whether passed or failed, a button with the text “Logs” will pop up. You can click on it to view the output of the stage (or error logs in case something went wrong).
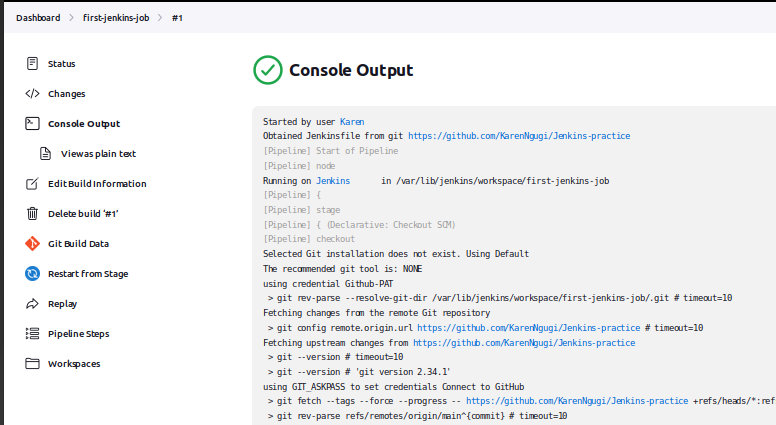
If something goes wrong or you would like to view the output of the console, click on the circle next to the build number. It works whether the build has passed or failed.

Congratulations, you can now add “Can carry out continuous integration and continuous delivery (CI/CD) using Jenkins” to your resume. Go forth and conquer the world.