Use Packer to create an AMI
Computer Science graduate who's had a taste of DevOps and wants more. This blog will serve as a journal regarding my journey into this field of delight.
Packer is a super cool tool by HashiCorp which can be used to create images such as Amazon Machine Images and Docker images. By default, Amazon images, especially the free tier ones, do not come installed with a lot of packages like, say, Jenkins. So we will create our own AMI which has Jenkins already installed so that, should you need to fire up a new EC2 instance that requires Jenkins, you don't need to go through the whole process of adding the Jenkins key and repo, updating packages, installing Java and Jenkins, and starting up Jenkins.
Before you begin, you need to have the following:
Setting up an AWS Security Group
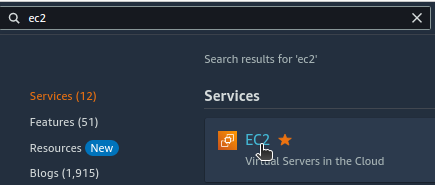
Head over to your Amazon Console and access the EC2 service. We will be creating a security group which we will use to access Jenkins in the EC2 instance we will create.
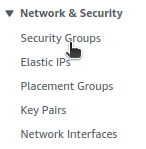
On the left pane, scroll down to Network & Security and select “Security Groups”.
Create a new security group.

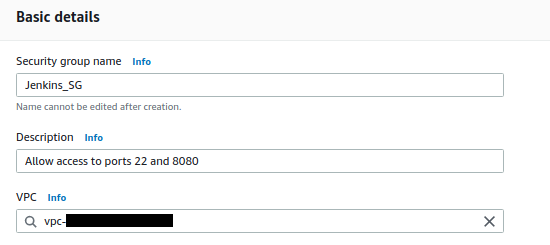
Provide a name and description for your security group and specify the VPC ID. If you don't have any customized VPCs that you created, your default VPC is automatically provided.
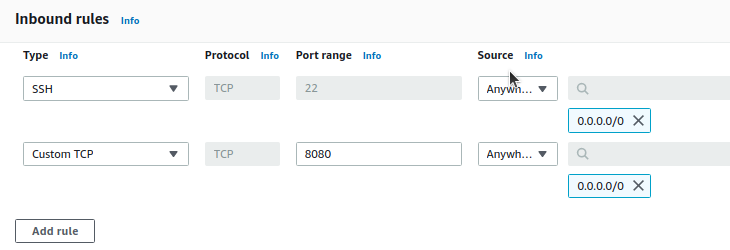
Under Inbound rules, select “Add rule”.

We will add two rules, one for SSH which generally uses port 22 and one for Jenkins which generally uses port 8080. Specify the following:
For SSH
Type: SSH
Source: Anywhere - IPv4
For Jenkins
Type: Custom TCP
Port range: 8080
Source: Anywhere
You can leave the Outbound rules and the Tags sections as they are or customize them according to your preferences. Proceed to create the security group.

Once the security group has been created, copy its ID as you will need it later.

Writing the Packer files
Next, we will create 3 Packer files:
my_packer.pkr.hcl
variables.auto.pkrvars.hcl
secret.auto.pkrvars.hcl
The Packer template file (my_packer.pkr.hcl) sets up the configuration for the image you want to build. It makes use of the HashiCorp Configuration Language (HCL) hence its extension. In the template file, I have declared the variables I will use but I have defined them in variables.auto.pkrvars.hcl and secret.auto.pkrvars.hcl to keep my template file neat as well as make it versatile. If I were to want to set up different configurations, the variable files makes it easier to do so rather than having to edit the template file every time you need to make some tweaks.
Note: You can name the variable files as variables.pkrvars.hcl and secret.pkrvars.hcl. You will have to make sure that when you validate or build your template file, you specify the variable files using the command line argument --var-file .
my_packer.pkr.hcl
You start by declaring the variables that you intend to use. This lets Packer know that you have some customized values you will pass in another file.
Next, you have the packer block with the plugins that you need. In our case, we will be using the Amazon plugin for any version greater than or equal to 1.2.1.
Following the packer block is the source block which specifies the resource type you wish to use. In our case, we will be using the Amazon EBS (Elastic Block Store) builder which we will name "packer_ansible_project". It will have the following properties:
force_deregister: in case of errors building the image, this tells Packer to delete the already-built-but-incomplete image and start from scratch again
access_key and secret_key: your AWS access and secret keys respectively
region: the AWS region you wish to use
vpc_id: your VPC ID. Use the default one if you don't have a custom one
source_ami: the ID of the Amazon Machine Image you will use as a base. I'll be using Ubuntu Server 22.04 LTS
instance_type: the type of instance, e.g., t2.micro
ami_name: the name you wish to give your Image
ssh_username: the user name you will use to SSH into your EC2 instance. Make sure you use the correct name for the AMI you use such as "ubuntu" for Ubuntu, "root" for Red Hat, etc.
Finally, there's the build block where Packer now decides what to do with the EC2 instance after it has been launched. The sources attribute references the resource(s) you've created (e.g. "packer_ansible_project") and should always be in list format. The provisioner attribute is used to carry out such actions as installing packages, creating users, downloading application code, and so on, and you can use as many as you like. In this scenario, we are first updating the Ubuntu packages after waiting for the EC2 to be set up then running the script that will install Jenkins on that EC2 instance.
Below is the code for the my_packer.pkr.hcl file:
variable "access_key" {
    type = string
    sensitive = true
}

variable "secret_key" {
    type = string
    sensitive = true
}

variable "vpc_id" {
    type = string
    sensitive = true
}

variable "region" {
    type = string
    default = "us-east-1"
}

variable "source_ami" {
    type = string
}

variable "ami_name" {
    type = string
}

variable "ssh_username" {
    type = string
}

variable "name" {
    type = string
}

variable "instance_type" {
    type = string
    default = "t2.micro"
}

packer {
    required_plugins {
        amazon =  {
            source = "github.com/hashicorp/amazon"
            version = ">= 1.2.1"
        }
    }
}

source "amazon-ebs" "packer_ansible_project" {
    force_deregister = true
    access_key = var.access_key
    secret_key = var.secret_key
    region = var.region
    vpc_id = var.vpc_id
    source_ami = var.source_ami
    instance_type = var.instance_type
    ami_name = var.ami_name
    ssh_username = var.ssh_username
    tags = {
        Name = var.name
    }
}

build {
    sources = ["source.amazon-ebs.packer_ansible_project"]

    provisioner "shell" {
        inline = [
            "while [ ! -f /var/lib/cloud/instance/boot-finished ]; do echo 'Your EC2 is being initialized. Please wait...'; sleep 1; done"
        ]
    }

    provisioner "shell" {
        inline = [
            "sudo apt update -y"
        ]
    }

    provisioner "shell" {
        script = "./install_jenkins.sh"
    }
}
The variable files
In the variables.auto.pkrvars.hcl and secret.pkrvars.hcl files, you now provide the values to the variables you had declared in the template file. While you can use a single variable file, I recommend having a secret one for confidential information such as passwords, access keys, VPC IDs, etc.
variables.auto.pkrvars.hcl:
source_ami = "ami-0557a15b87f6559cf"
ami_name = "Ubuntu with Jenkins"
ssh_username = "ubuntu"
name = "My Image"
instance_type = "t2.micro"
secret.auto.pkrvars.hcl:
access_key = "XXXXXXXXXXXXXXX"
secret_key = "XXXXXXXXXXXXXXX"
vpc_id = "vpc-XXXXXXXXXXXXXXX"
Writing the Jenkins script
Create a new file called install_jenkins.sh which will be used to install Jenkins inside the EC2 instance. Make sure to make it executable using chmod.
#!/bin/bash

# Obtain and add the Jenkins key
wget -q -O - https://pkg.jenkins.io/debian-stable/jenkins.io.key | sudo gpg --dearmor -o /usr/share/keyrings/jenkins.gpg

# Add the Jenkins repo
sudo sh -c 'echo deb [signed-by=/usr/share/keyrings/jenkins.gpg] http://pkg.jenkins.io/debian-stable binary/ > /etc/apt/sources.list.d/jenkins.list'

# Update system packages
sudo apt update -y

# Install Java
sudo apt install openjdk-11-jdk -y

# Install Jenkins
sudo apt install jenkins -y

# Start Jenkins
sudo systemctl start jenkins

# Enable Jenkins
sudo systemctl enable jenkins
Building and running the Packer file
In your terminal, run the following commands one by one to initialize, validate, and build the AMI respectively:
# initialize the project
packer init .

# validate the project
packer validate .

# build the project
packer build .
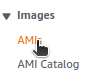
Once the build is completed, go to your AWS Console, scroll down on the left pane to locate Images and click “AMIs”
You will be able to see your newly created Amazon Machine Image. Launch a new instance with it

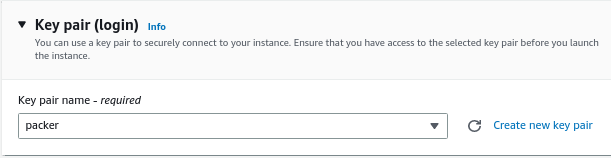
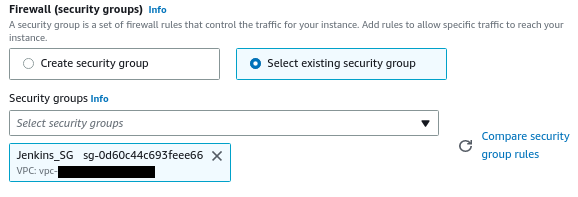
Provide a name for your EC2, select a key pair (or create one), choose the security group we created earlier, and create your new instance.

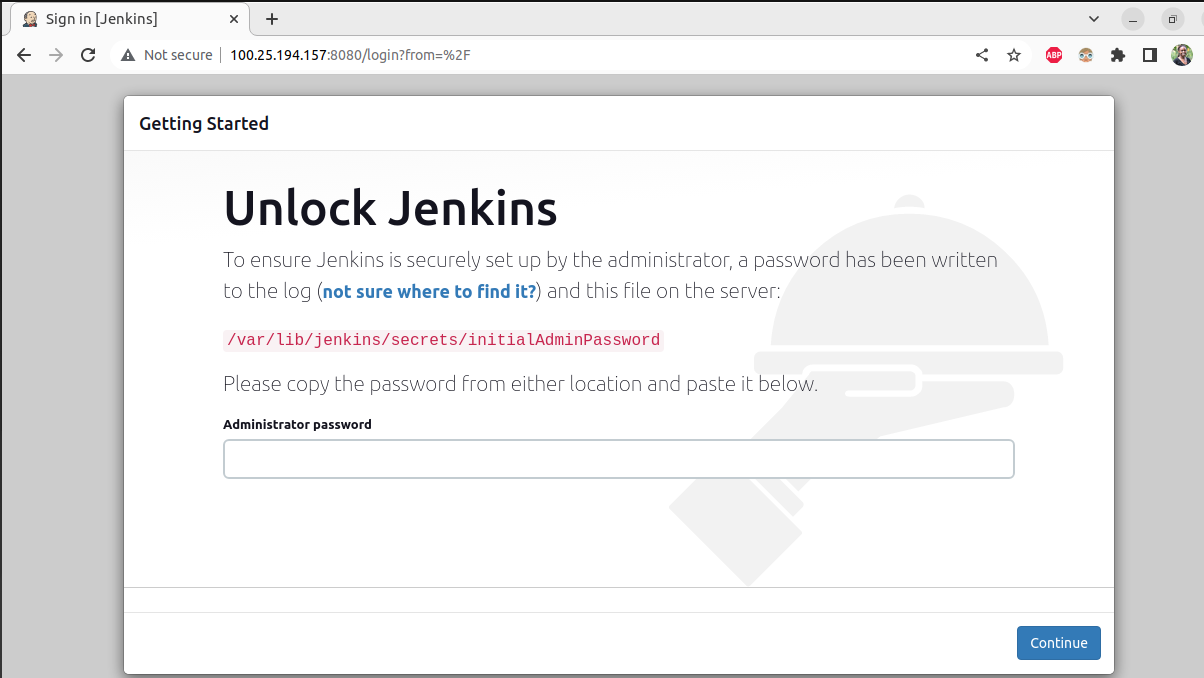
Once your instance is initialized and running, copy its IPv4 address, paste it into the address bar of a new tab, and append “:8080” to it to access it via port 8080. As you can see, you don't need to install Jenkins on your EC2 instance because it is already installed.
IMPORTANT
If you know you are not going to use your newly created AMI any more, make sure to deregister it and delete its associated snapshot to avoid incurring charges.
Also, if you intend to push your code to a version control platform such as GitLab, GitHub, etc., make sure to add the following to your .gitignore file to avoid exposing sensitive information (source):
# Cache objects
packer_cache/

# Crash log
crash.log

# https://www.packer.io/guides/hcl/variables
# Exclude all .pkrvars.hcl files, which are likely to contain sensitive data,
# such as password, private keys, and other secrets. These should not be part of
# version control as they are data points which are potentially sensitive and
# subject to change depending on the environment.
#
*.pkrvars.hcl

# For built boxes
*.box